
How to Maintain And Install Outdoor Lighting
Share
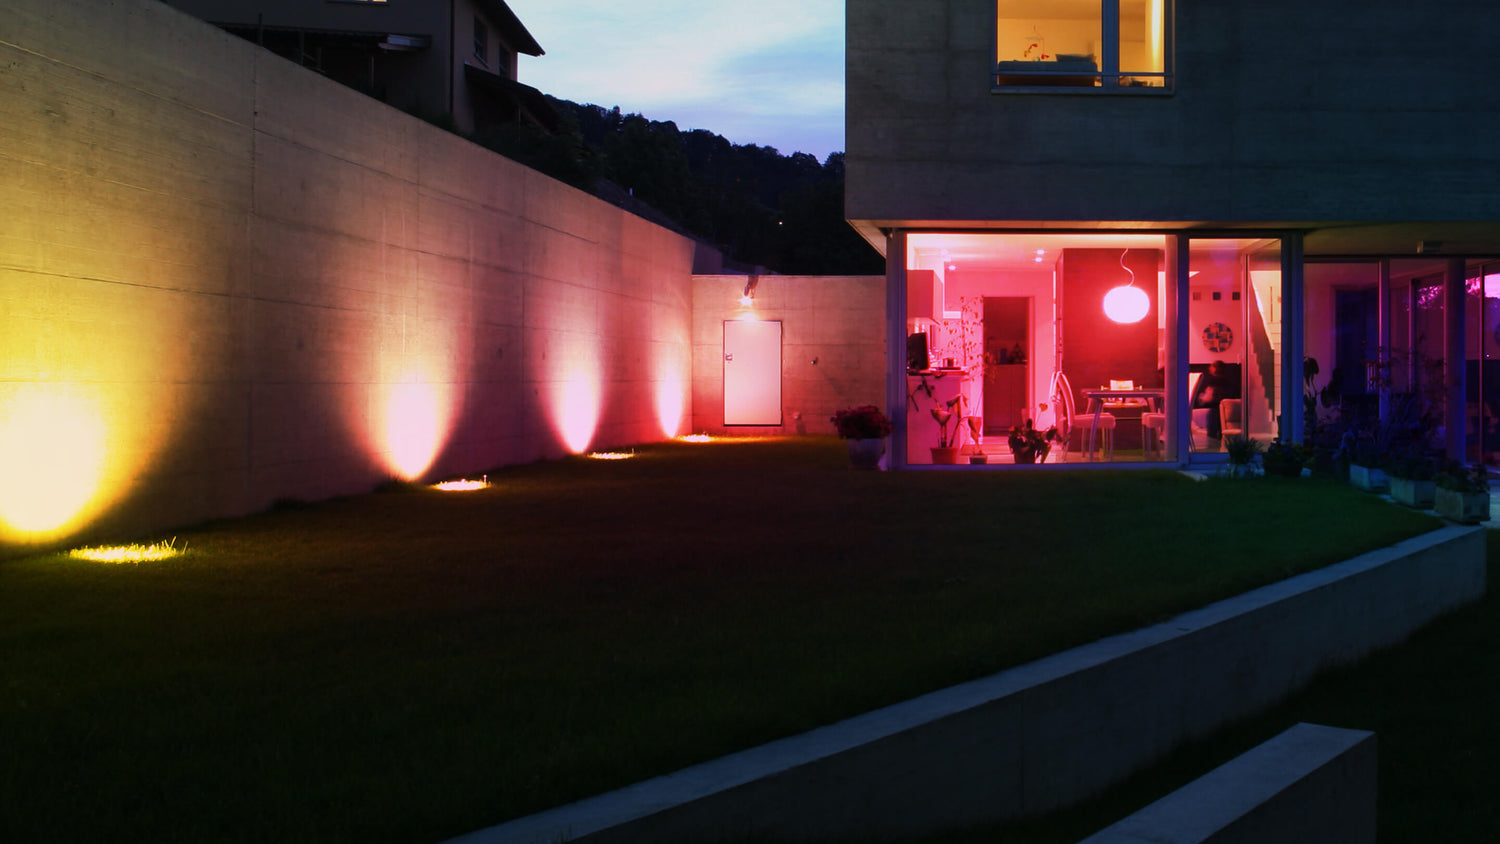
For the convenience of daily life in the home, as well as for safety design purposes, it is necessary to install outdoor lighting. Common outdoor lighting equipment includes floodlights and security lights. However, it is very simple to install reasonable and appropriate outdoor lighting equipment and to do regular maintenance and repair.
Many factors can wreak havoc on exterior lighting. For example, natural factors such as weather and vegetation growth, but the behavior of people and animals affected.
But don't worry. This next article will show you how a quick installation of outdoor lighting equipment and regular outdoor lighting maintenance can help keep your exterior lighting brighter and longer lasting.
How to install outdoor lighting?
1. No need to fix the location - Basic Guide
- Step 1. Turn off the power. Before installing more electrical equipment, it is important to turn off the power to stay safe.
- Step 2. Wiring. After securing the fixture assembly, wire the fixture according to the fire, zero, and ground wire markings.
- Step 3. Adjust the angle. After connecting the equipment, adjust the angle of light exposure.
- Step 4. Adjust the angle. After connecting the equipment, adjust the angle of light exposure.
2. Fixed position, such as outside the house - Advanced Guide
Prepared tools: wrench, screwdriver, impact drill, hammer, screw accessories.
First, you need to follow the simple steps above. (Steps 1~4)
- Step 5. Mark the holes to be drilled on the surface to be installed.
- Step 6. After choosing the right drill bit, use the impact drill to drill the hole and hammer the expansion screw into the hole first.
- Step 7. Remove the luminaire assembly, align the mounting holes of the luminaire bracket with the punched holes, insert the screws, and fix the bracket with a screwdriver. If using expansion bolts, align the mounting holes of the bracket with the bolts and tighten the nuts with a wrench.
- Installation is complete, which will make the floodlight more stable or prevent it from being taken away and firmly fixed to the wall.
How to maintain external lighting?
1. Clean the lens regularly
Obstacles can block the light source and make the illumination light look dimmer than usual. Cleaning the lens helps the light to be fully functional. This is an easy fix because all you need to do is wipe the lens with a soft towel.
2. Clean the exterior of the fixture
Dirt, grass or leaves may block the light from the light source due to climate or foreign objects. This can damage the surface of the lamp body and thus deviate from its purpose. Periodically wipe off dirt from the fixture with a clean towel.
3. Check frequently for damaged or burned-out bulbs
Over time, bulbs can begin to lose their luster. This can be dangerous, especially when using the lamp for safety purposes. Replace the unit at the first sign of dimming before the light goes out completely.
4. Check for exposed wires
When foreign critters come into contact with your light, they may begin to chew or play with the exposed wires. When they begin to chew on the wires, this can compromise the integrity of the light source. By inspecting exposed wires and wrapping or hiding them, you can ensure that your lights will last and you will also avoid costly repairs to new wires or new systems.
Regular maintenance of your outdoor lighting is easy and not time-consuming. This way, you can be sure that your lighting will last a long time while maintaining its brightness. When you take care of your lights, they will take care of you. Enjoy beautiful lighting with proper care and maintenance!
FAQs of LED Security Lights
1. What is an LED security light?
An LED security light is a type of outdoor lighting that uses LED technology to provide bright and energy efficient illumination. Its purpose is to improve the safety and security of people and property by illuminating the surrounding area.
2. Why should you buy security lights?
Investing in a quality security light is an important step in protecting your property and ensuring the safety of your family and belongings. You can use it to deter intruders, increase visibility around your house, and save energy.
3. Motion Sensor vs Dusk to Dawn vs Switch Control
- Motion Sensor: Turn on automatically when motion is detected within range.
- Dusk to Dawn: Turn on at dusk and off at dawn.
- Switch Control: Manually controlled.
All three of them serve to provide illumination, the difference is in the type of control mechanism and you need to choose in combination with the actual lighting needs.
4. Buy Olafus Security Lights
Olafus offers a range of high quality LED safety lights that are perfect for outdoor use. Waterproof and equipped with motion sensors, dusk to dawn sensors, or on/off switch controls, depending on your preference.
With a long life span and energy efficient design, Olafus' security lights are a great investment for any homeowner looking to increase safety and security. Explore the best options and find the security lights that best fit your needs.
Read More:
- What You Need to Know About Outdoor Security Flood Lights
- What is Outdoor LED Flood Light?
- How Can I Improve My Home Security for My Family?
More Videos